

HOW TO ADD A BRANDED PRODUCT TO YOUR STORE

-
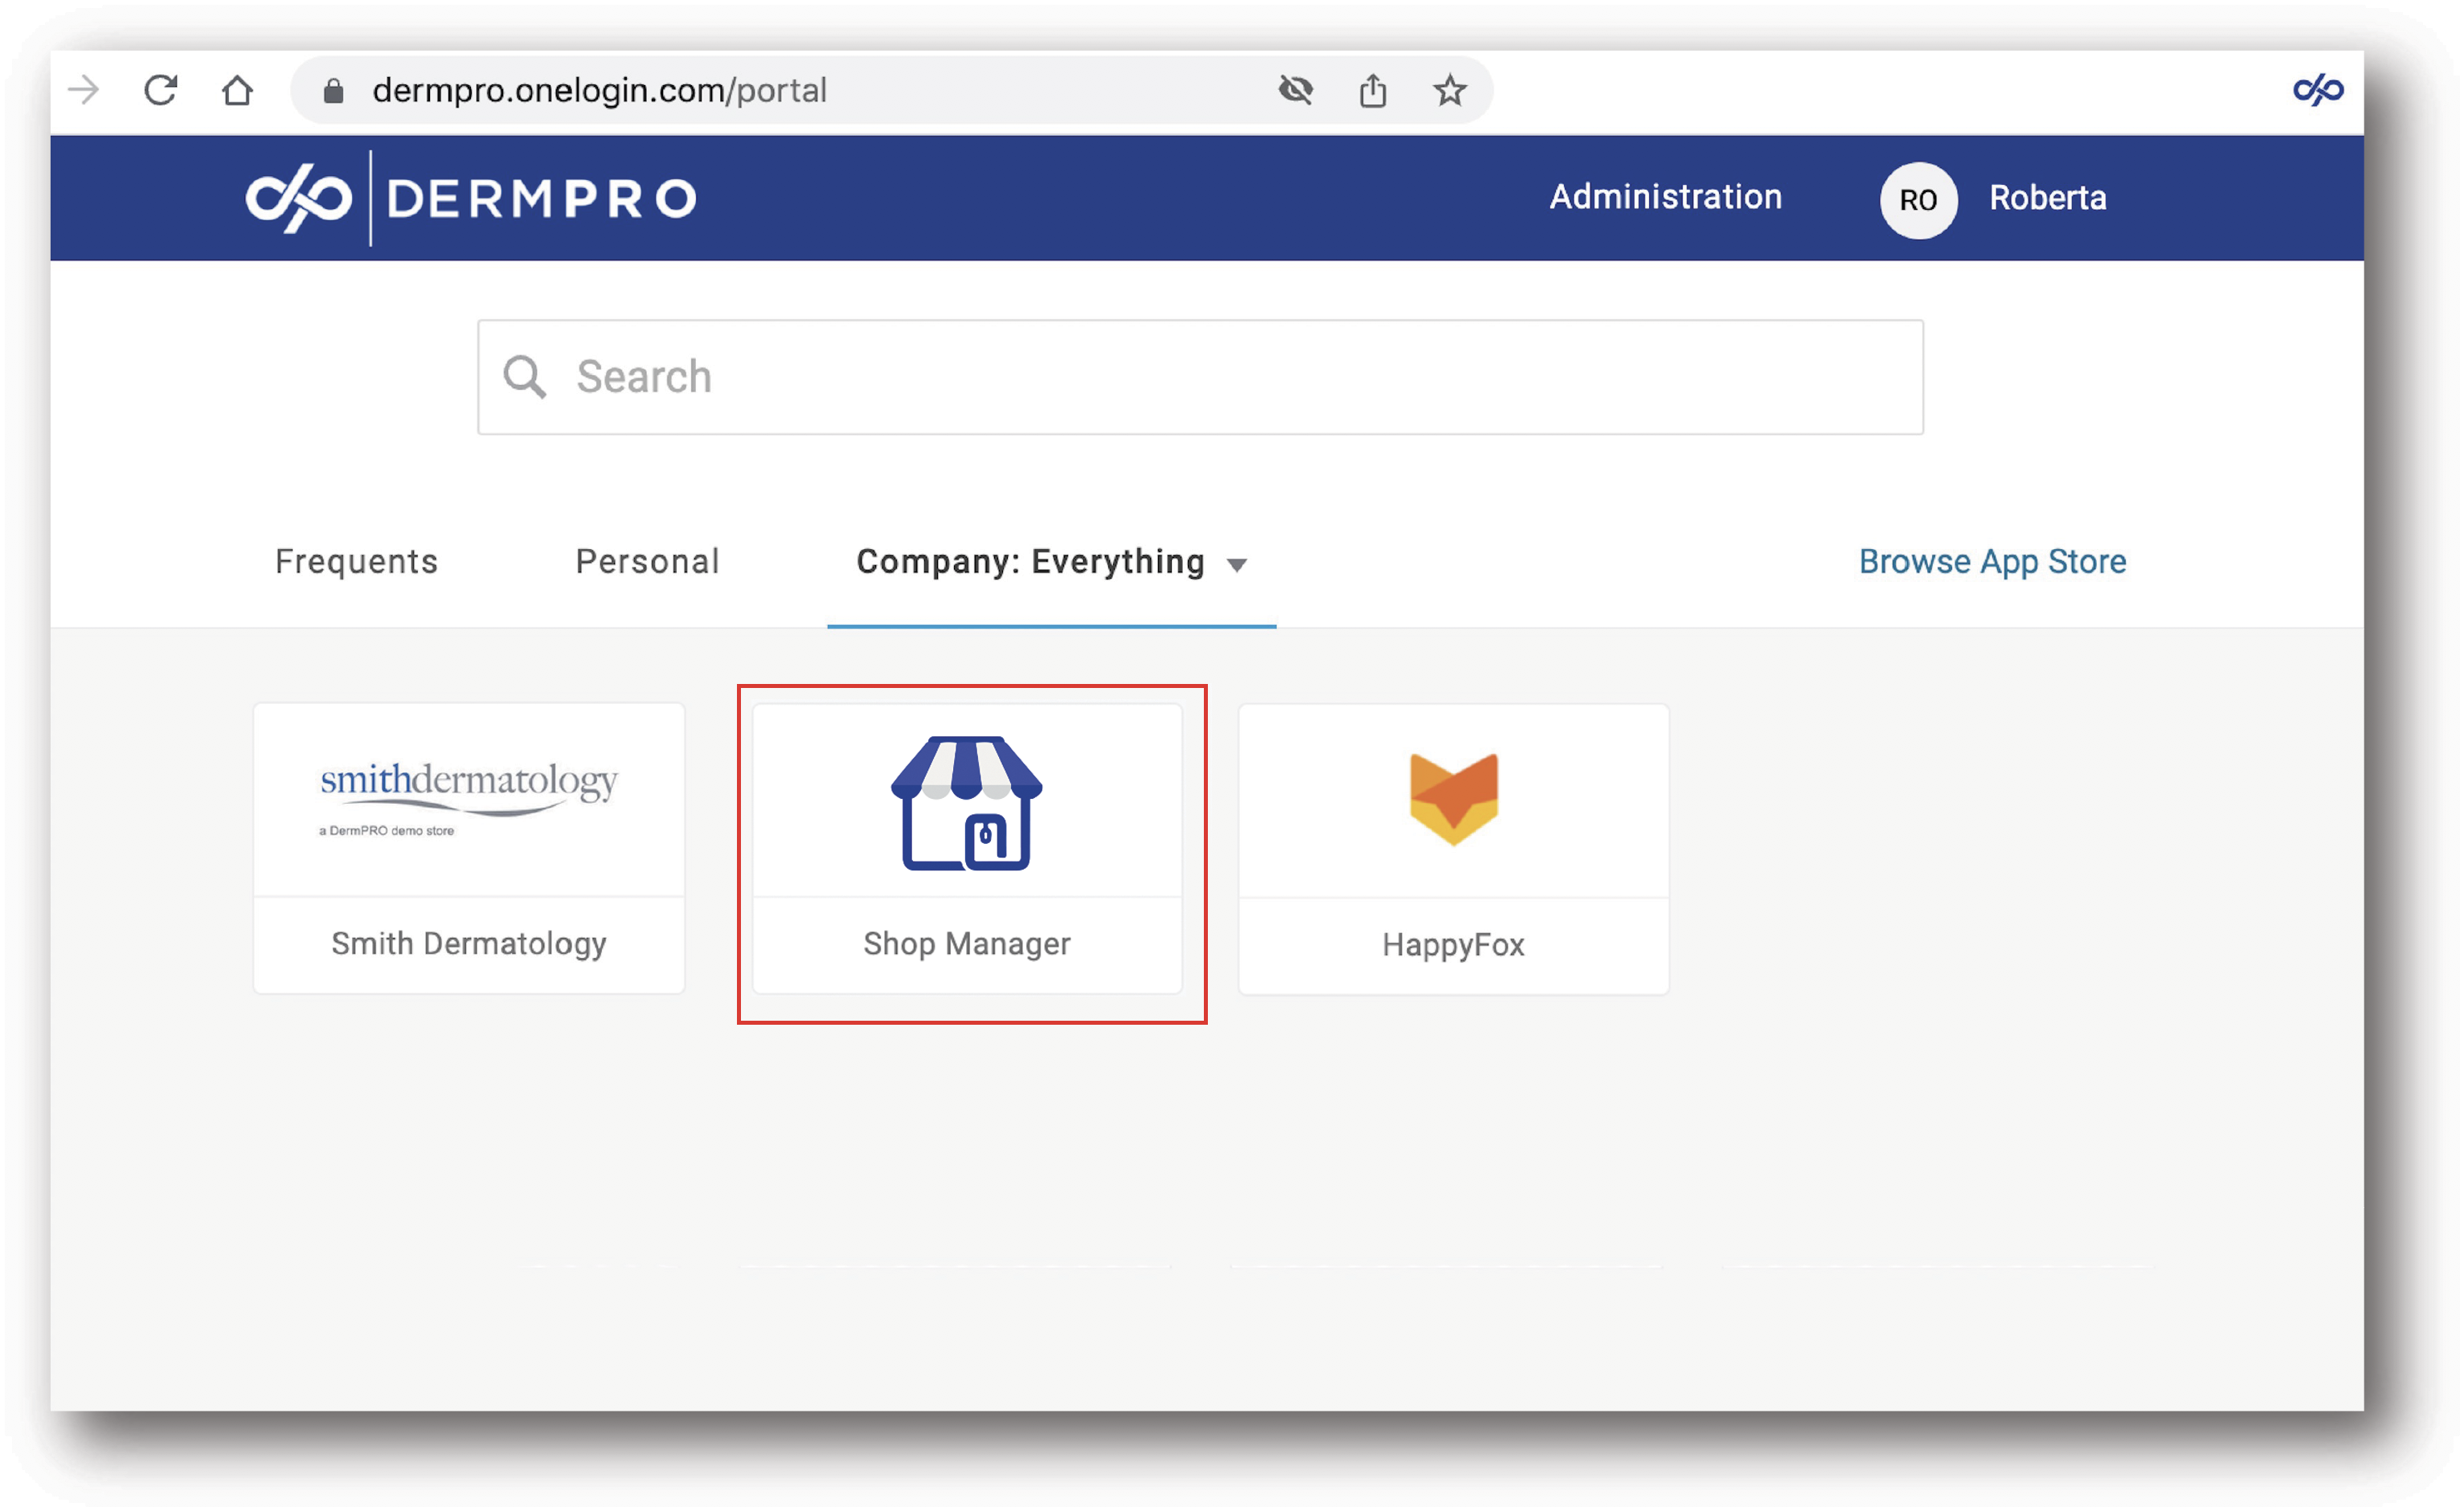
You can add items to your store using the Shop Manager > Listings function. To go to Shop Manager, log into your DermPRO OneLogin Dashboard, and click on the Shop Manager tile.
-
Once logged in, click "Listings" in the Menu Left Panel.

3. Click the "Add Product from Library" button under Listings.

4. You will be directed to the Browse Listings, click on the "Products" tab, where you can find all the Product Brands available in Shop Manager.

5. Look for the Brand that you would like to add by scrolling through the alphabetized list of brand names, or by typing the brand name in the Search field.

6. From the list of products under any given brand, locate the product(s) that you would like to add to your store. You may scroll through the items, or use the Search Item by Name field.
7. Select the product or products, then click on "Add to Store".

8. If you have additional items to add to your store, you may do so. Once you are done adding products, you may return back to Listings via either the sidebar Listings option, or by using the breadcrumbs at the top of the page. Products that have been added will appear in a temporary tab called "Queue" until they have been imported to your store and transferred to your "Draft" tab.

9. Click "Draft" and select the pencil icon to edit and open the details of the product.

10. Here you may make any edits to the product before Enabling it to appear on your store.
Be sure to check the "Price" and "Is Taxable" fields before enabling an item on your store. Also remember to check the Categories to see where this product will be listed within the categories on your store. Please see additional Help Articles for assistance with making specific types of edits to items.
11. After making any changes to an item, remember to click on "Save Changes". If you have toggled the Enable switch, the product will then be added to your "Active" tab and will be visible on your store.

NOTE: Do not forget to refresh the page on the store front end to see the edits made in Shop Manager.
-----END-----

