

HOW TO REMOVE AN ITEM FROM YOUR STORE

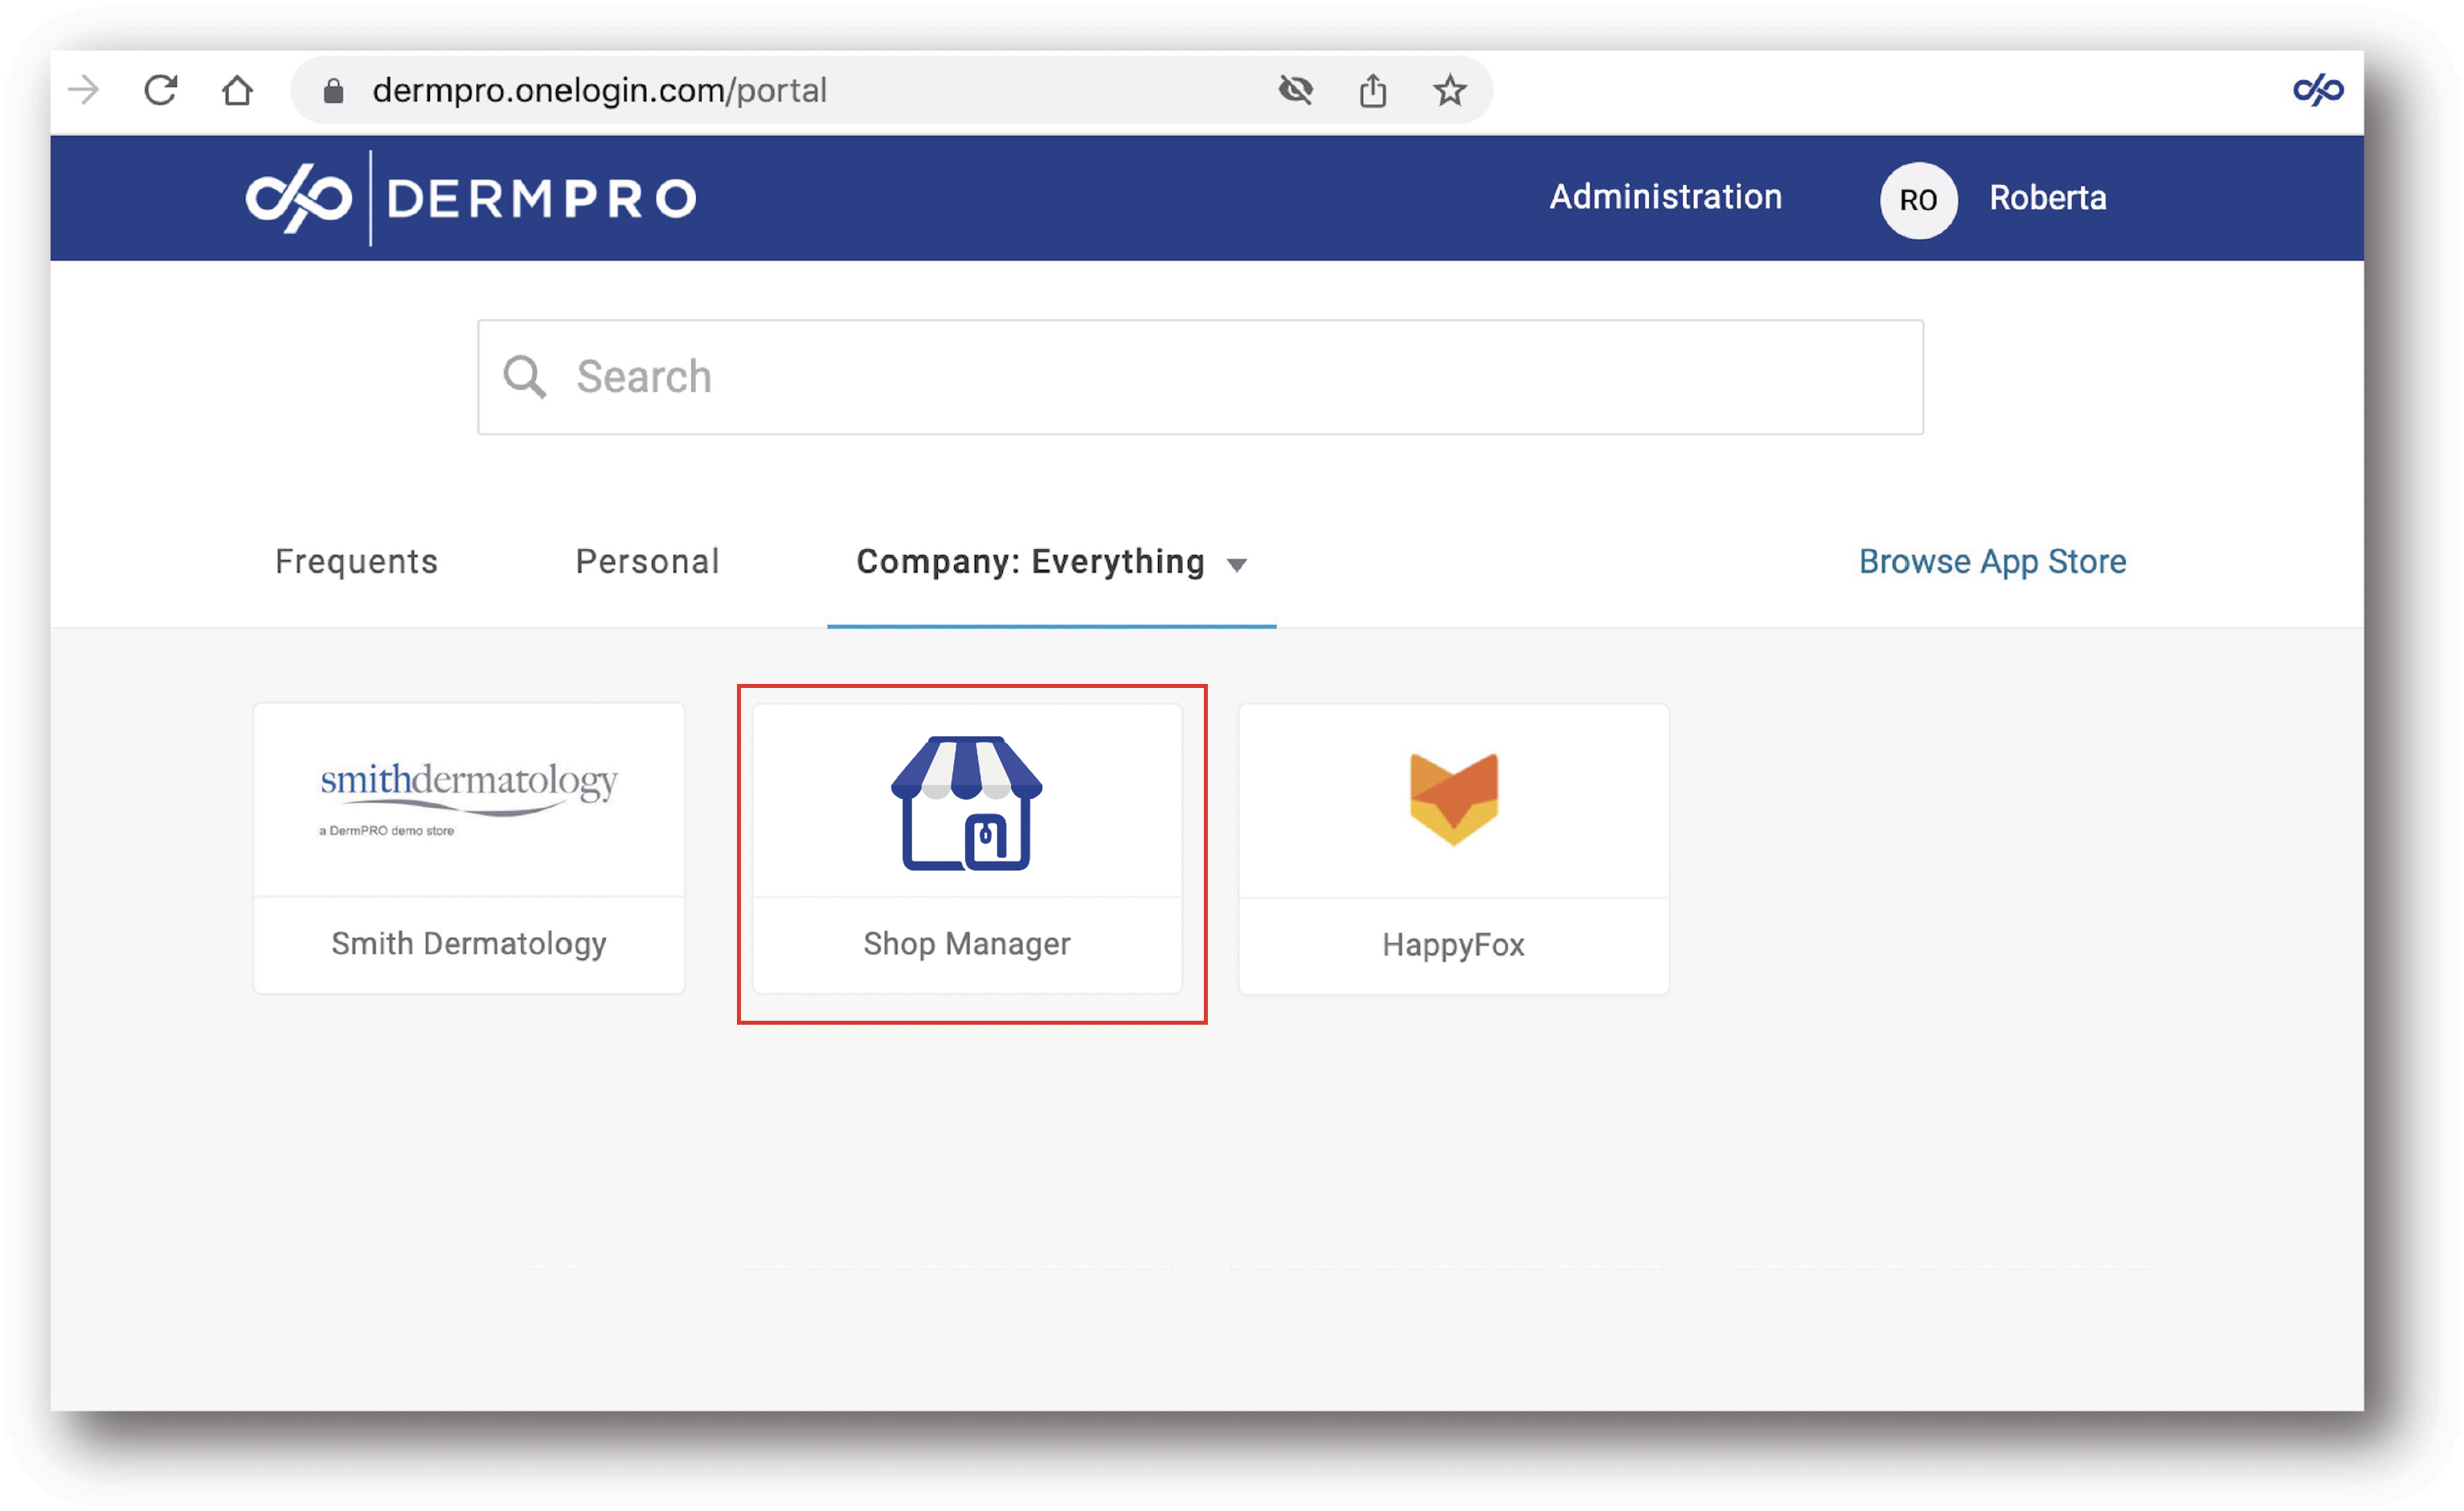
- Log into Shop Manager by first logging into DermPRO OneLogin Dashboard and clicking on the Shop Manager tile.
- In Shop Manager, click “Listings” from the Left Menu Panel.

3. In the Active tab, you will see all the products and treatments that are active in the store. Look for the product or treatment that you would like to remove.
You now have two options for removing the item from your store.
1- You may remove the item completely from your store. To completely remove the item, click the Trash Can icon next to the item in the list.
2- You may disable the item, which will leave the item in your Drafts tab, from where it may be easily re-enabled to again appear in your store at a later time.

4. To disable the item, click the Pencil icon under the Actions tab. On the product details page, toggle off the Enable switch to Disable the product. Click on Save Changes to save your changes. After doing this, the item will be moved from the Active tab to the Draft tab of your Listings.

Notes:
- The product or treatment will be removed from the store, to add it back just simply toggle to enable it.
- Refresh the page on the store front end to see the edits made in Shop Manager.
-----END-----

