HOW TO UPDATE TAX RATES IN SHOP MANAGER
NOTE: This article provides help for changing your store's tax rate(s). If you are seeking help with setting the taxability of an individual product or service, please see the article, "How to Enable/Disable Tax on an Item".
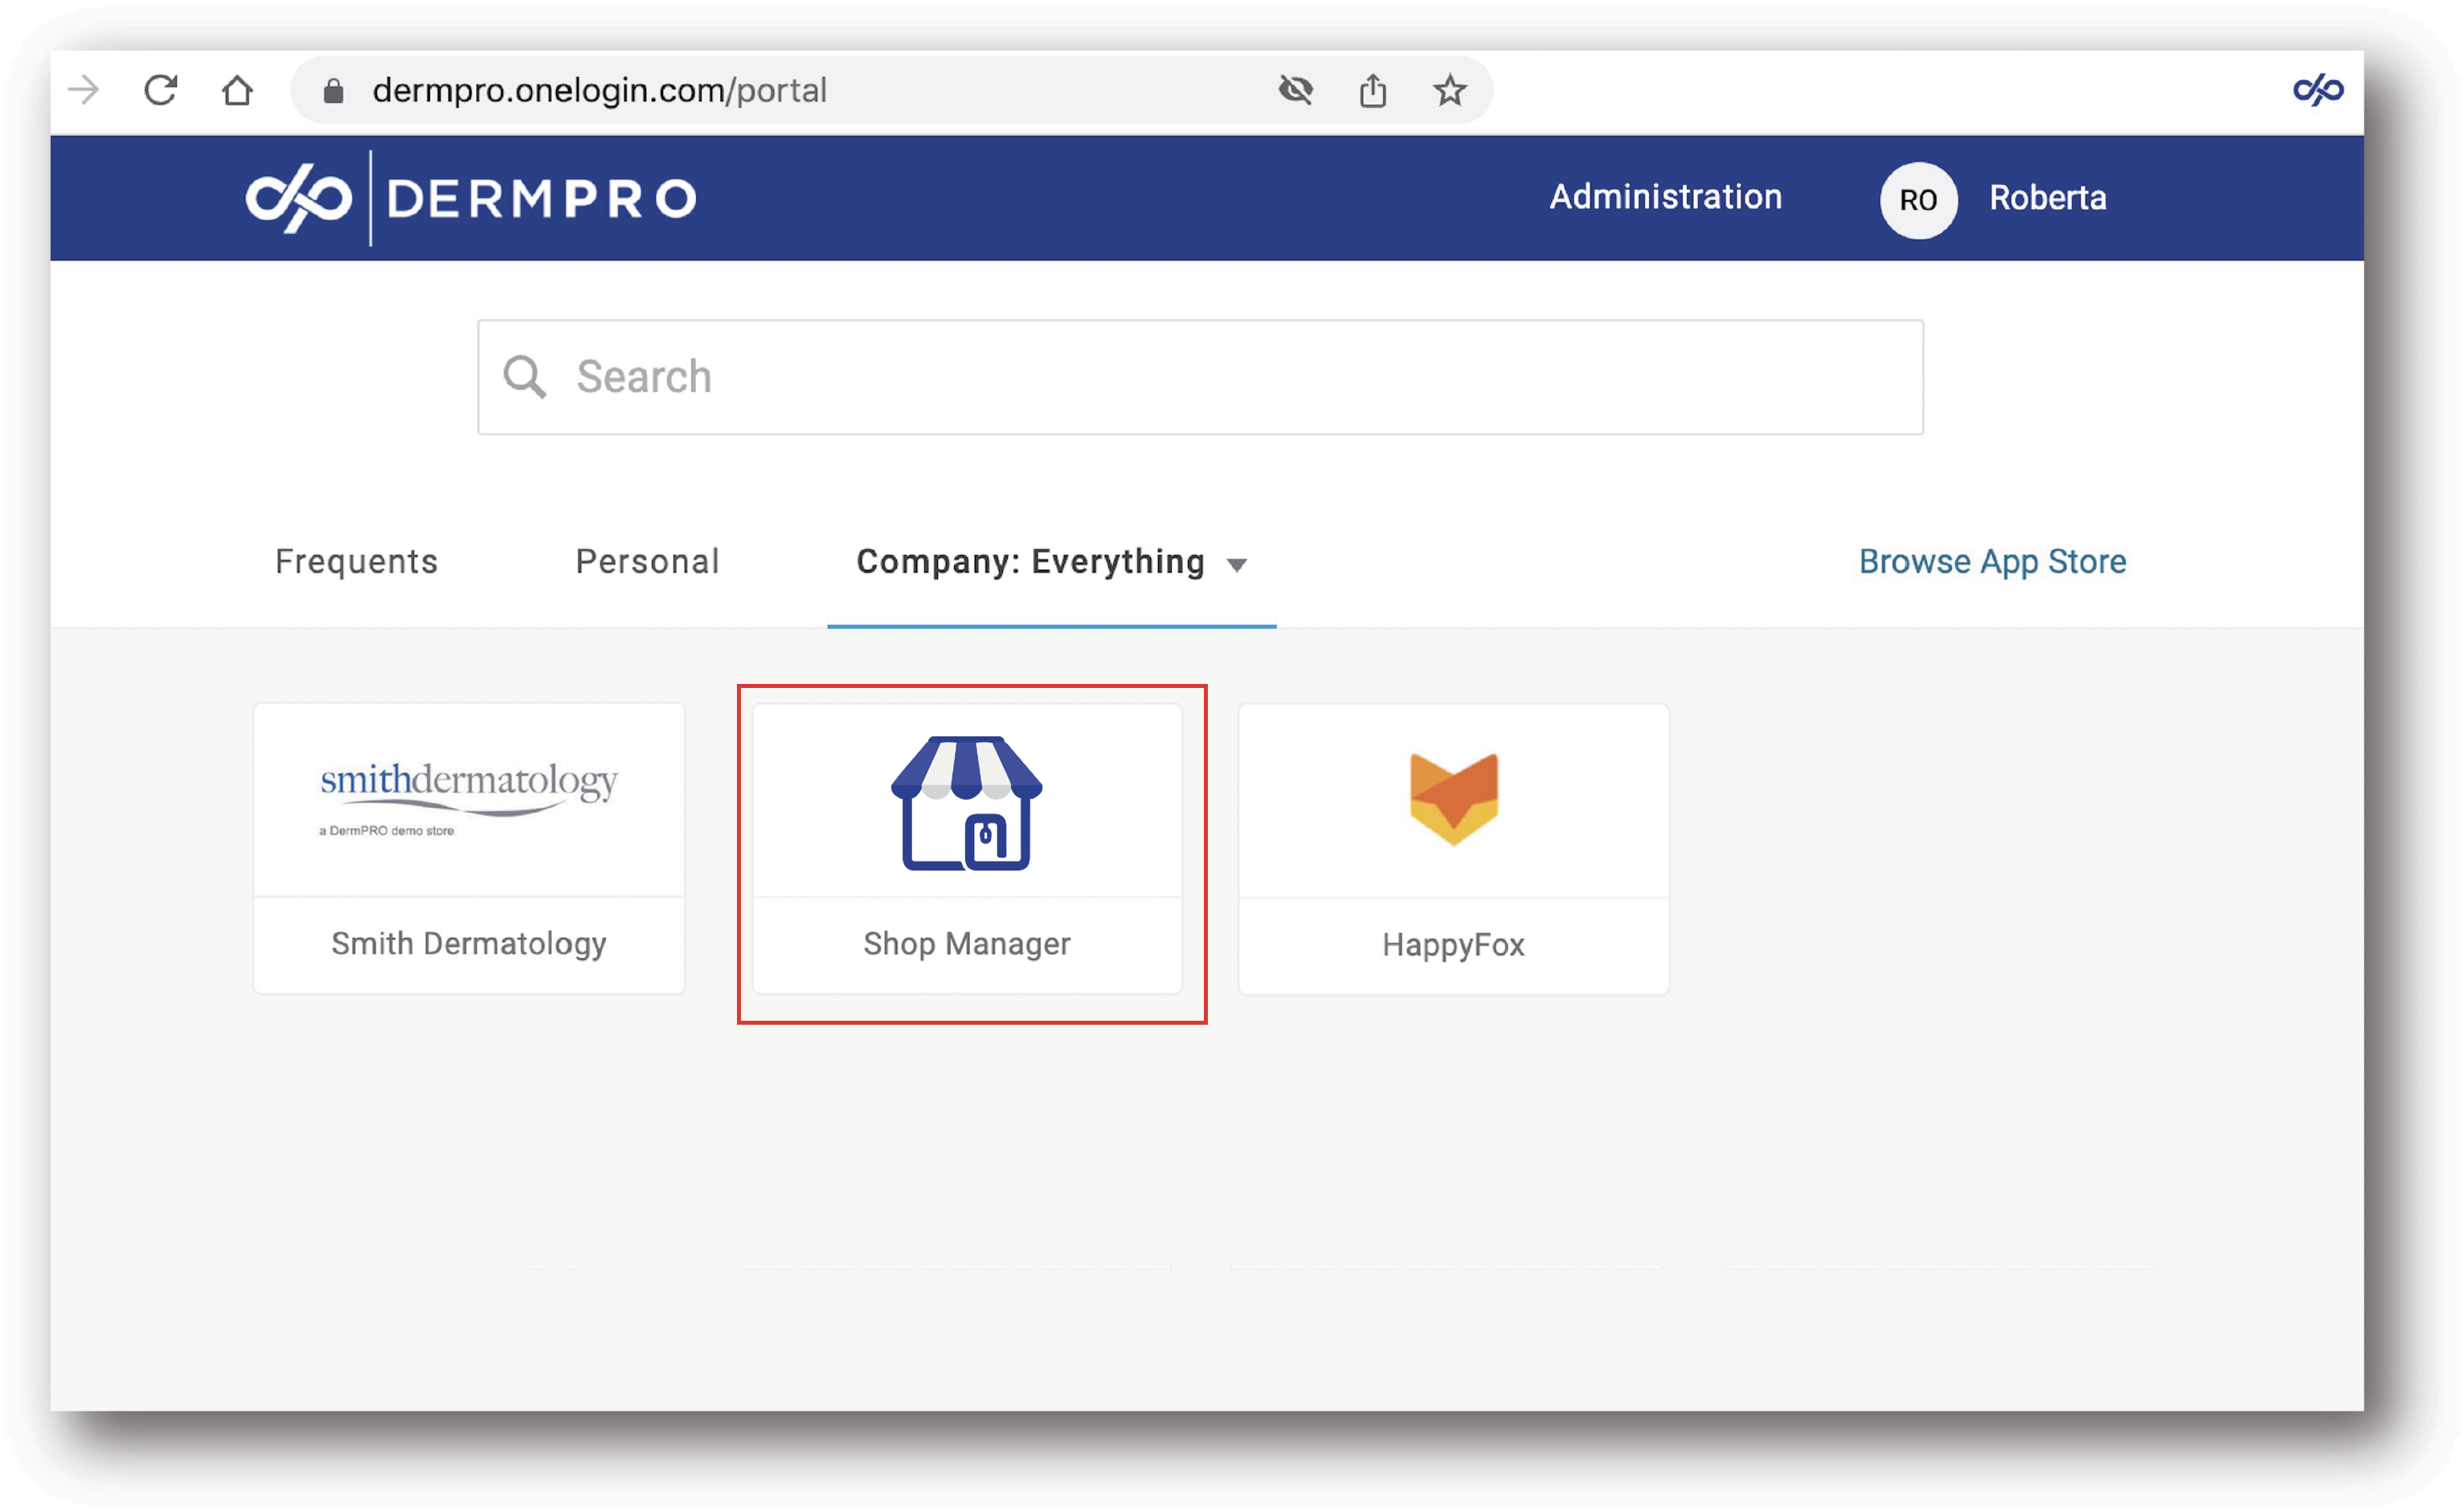
1. Log into Shop Manager by clicking on the Shop Manager tile from your DermPRO OneLogin Dashboard.

2. Click Settings from the bottom left Menu, and select the "Go Live Requirements" tab if your store is not live yet, or the "Store Configurations" tab if your store is live and you no longer have a Go Live Requirements tab. Click on the Tax Rates tile.

3. Select the tax rate you want to update by clicking on the Pencil Icon under Action Column

4. Update the tax information you want to update and tick the check box and Save.

a. Tax Identifier - this usually starts with Country Name - State - Store Name
b. Zip/Post Range
- Tick the box if you want to have an option to select a zip code range.
- Untick the box if you just want to select one zip code. NOTE: Enter the symbol * if you want "any" or if you want your tax to trigger regardless of the zip code entered.
c. State\Country
- Select Any State if you want "any" or if you want your tax to trigger regardless of the state selected.
d. Rate Percent - enter the tax rate percentage you would like to be configured for your online store.
5. Click on Submit to Save Changes.
6. If tax is not yet configured in your store or if you want to add another tax rate, scroll down to the bottom of the page to "Add New Tax Rate".

-----END-----


